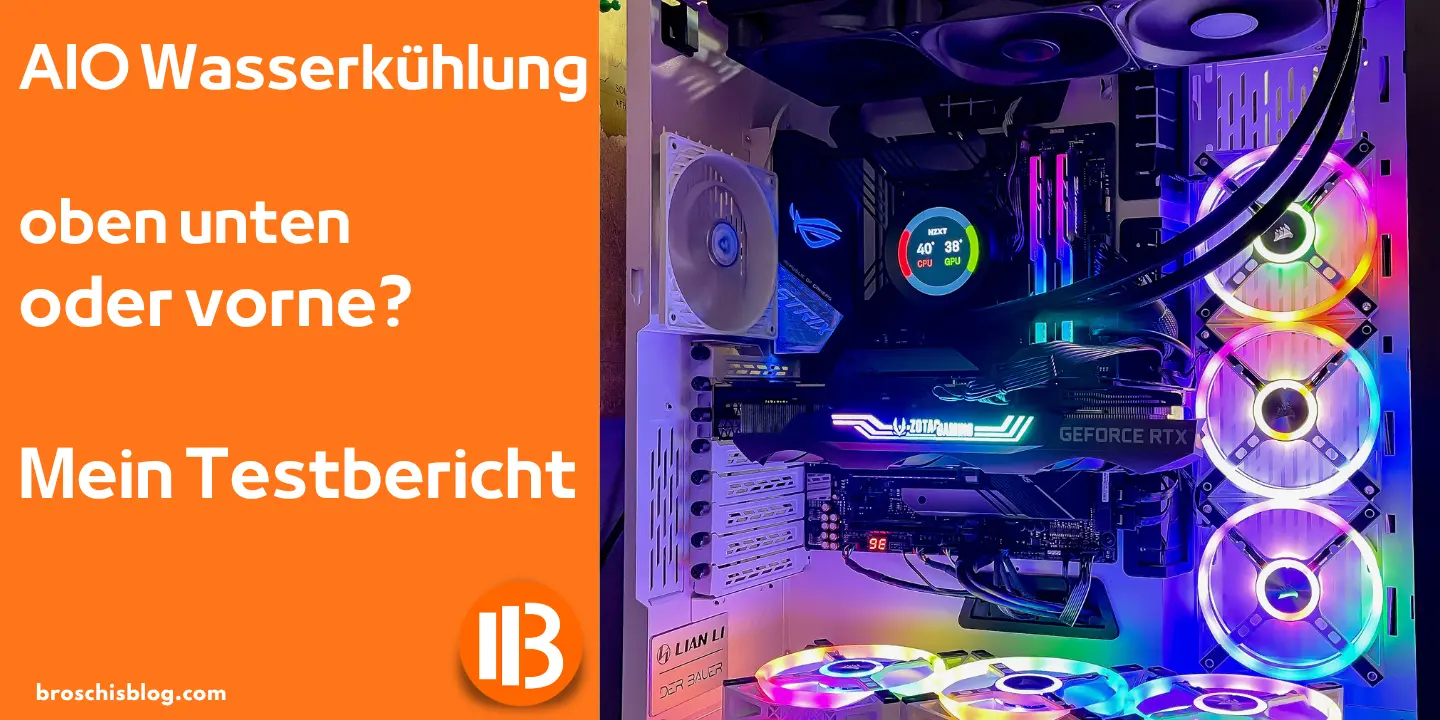
How should the AIO water cooling be positioned in the PC? The optimal positioning depends on various factors. Here you will learn where your AIO water cooling can efficiently dissipate heat and when certain placements are advisable. Generally, top and front positions are not wrong, but there are certain circumstances to consider.
Installing the AIO water cooling at the bottom is incorrect!

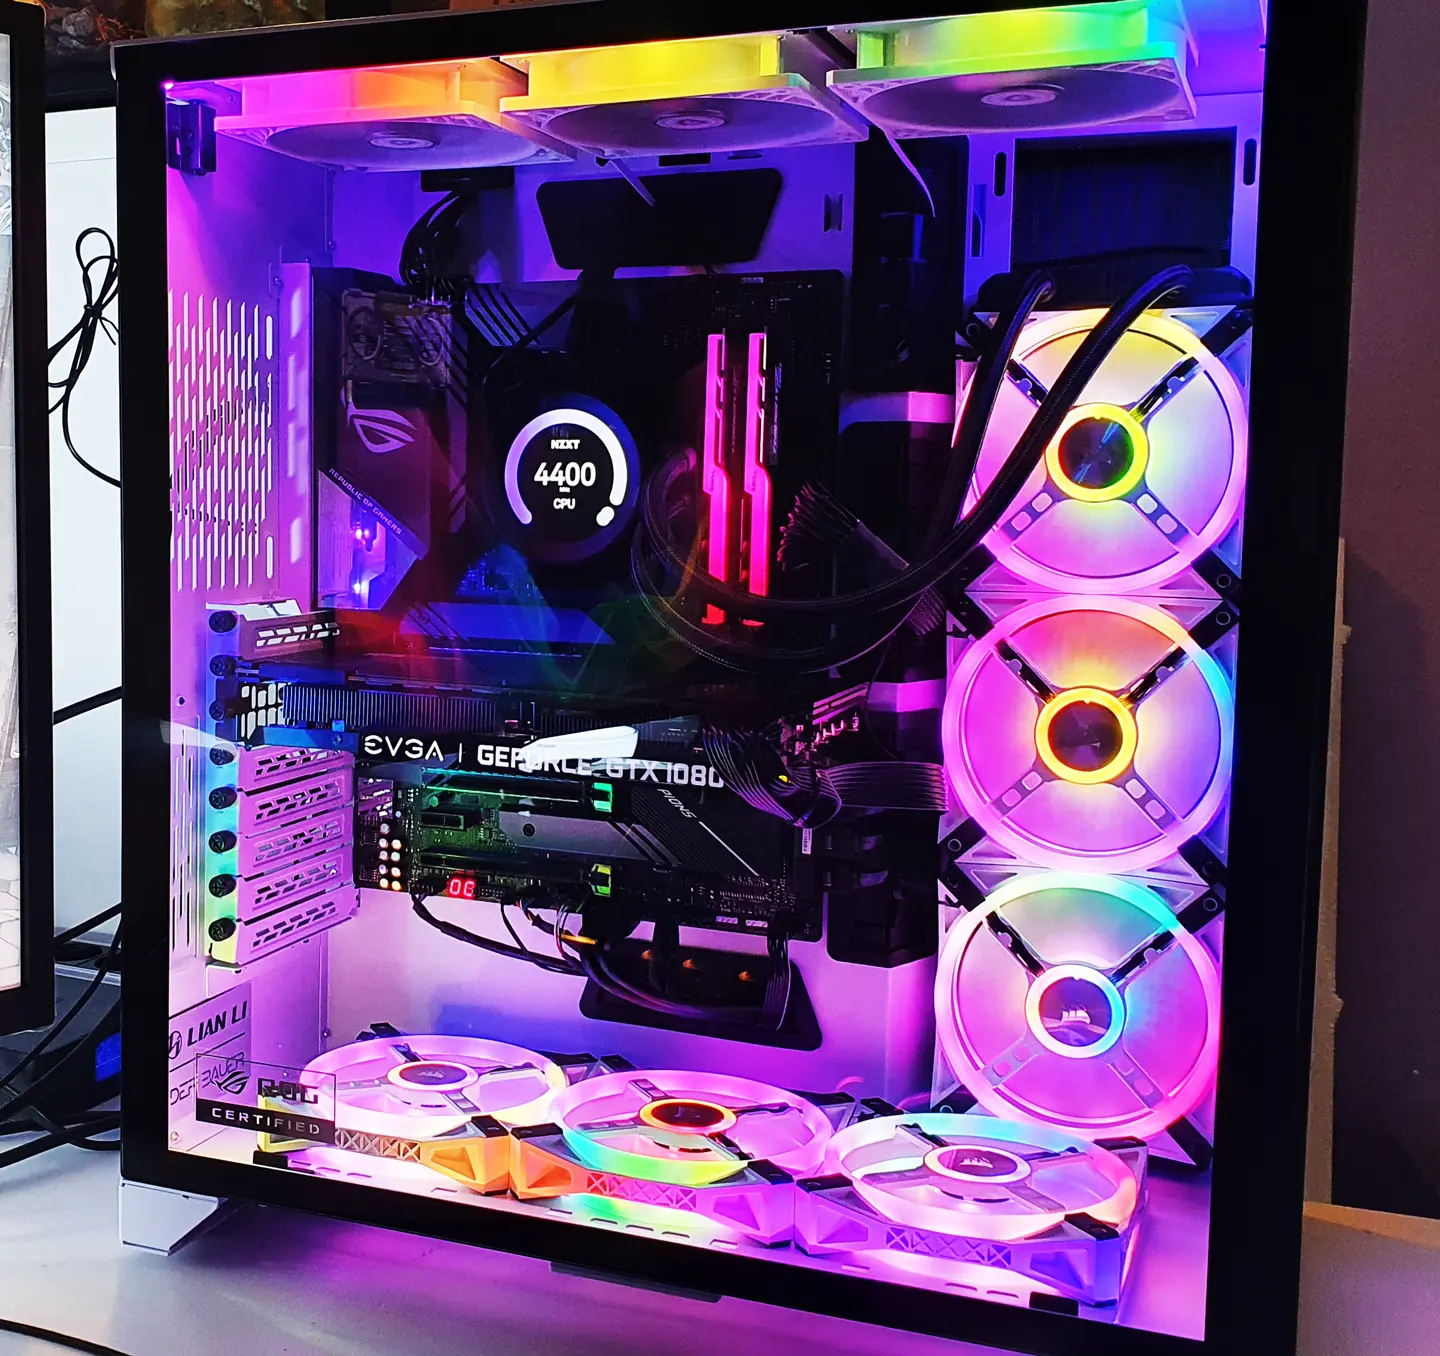
An important thing you should never do is install the AIO water cooling at the bottom of the PC case. The water pump, located on the CPU, should never be positioned at the highest point. In the attached photo, it can be seen that the pump should not be higher than the radiator. But why is that?
When the AIO water cooling is new, the system contains no air. However, after about 2 years, it may happen that the AIO loses water through the hoses, allowing air to enter the cooling system. Air is lighter than water and always collects at the highest point.
In this case, the air bubble is exactly in the water pump, causing the pump to not operate at its full capacity. This leads to lower cooling performance and higher temperatures.
While this might be possible when the AIO water cooling is new, directly above it is the graphics card, which receives not cold air but the warmed air from the water cooling, resulting in the graphics card becoming hotter.
How to check if there is air in the AIO water cooling system

When you remove the radiator and shake it, you may hear water noises, which could indicate the presence of air in your water cooling system.
If you notice that your water pump has become louder, this is also a sign that there is air in the system. You have also noticed that your CPU temperature previously fluctuated significantly.
After making your changes, the CPU temperature is now consistently between 42 and 45 degrees Celsius. Previously, there were fluctuations of about 10-15 degrees Celsius. Additionally, the water pump has become quieter.
It’s important to note that removing air from the cooling system can have a positive impact on performance. A consistent CPU temperature and a quieter water pump are indications that you have successfully removed the air from your water cooling system. This contributes to a more stable and efficient cooling of your system.
Install AIO water cooling in the front or rear
When installing a new AIO, it’s advisable to mount it either in the front or rear of the case. Ensure that the water pump is positioned below the highest point of the radiator. This allows cool air to be drawn in from outside, resulting in optimal cooling performance.
However, it’s important to note that warm air from the radiator will be blown into the case. This can have a negative impact on the graphics card, especially under heavy load. In such cases, it might be beneficial to mount the AIO at the top.
If you primarily use your system for tasks such as image or video editing (rendering), where the CPU is heavily utilized, it’s appropriate to install the AIO at the front or rear.
Ideally, the hoses of the water cooling system should be positioned at the bottom, as this allows the AIO to operate efficiently even if there is air in the system. However, in practice, this is often not feasible due to short hoses or the hoses touching the graphics card and warming the water, which is inefficient.
As long as there is no air in the water cooling system, the radiator can be mounted at the front or rear, even if the hoses are positioned at the top. Please refer to the attached image for clarification.
Mount AIO water cooling on top
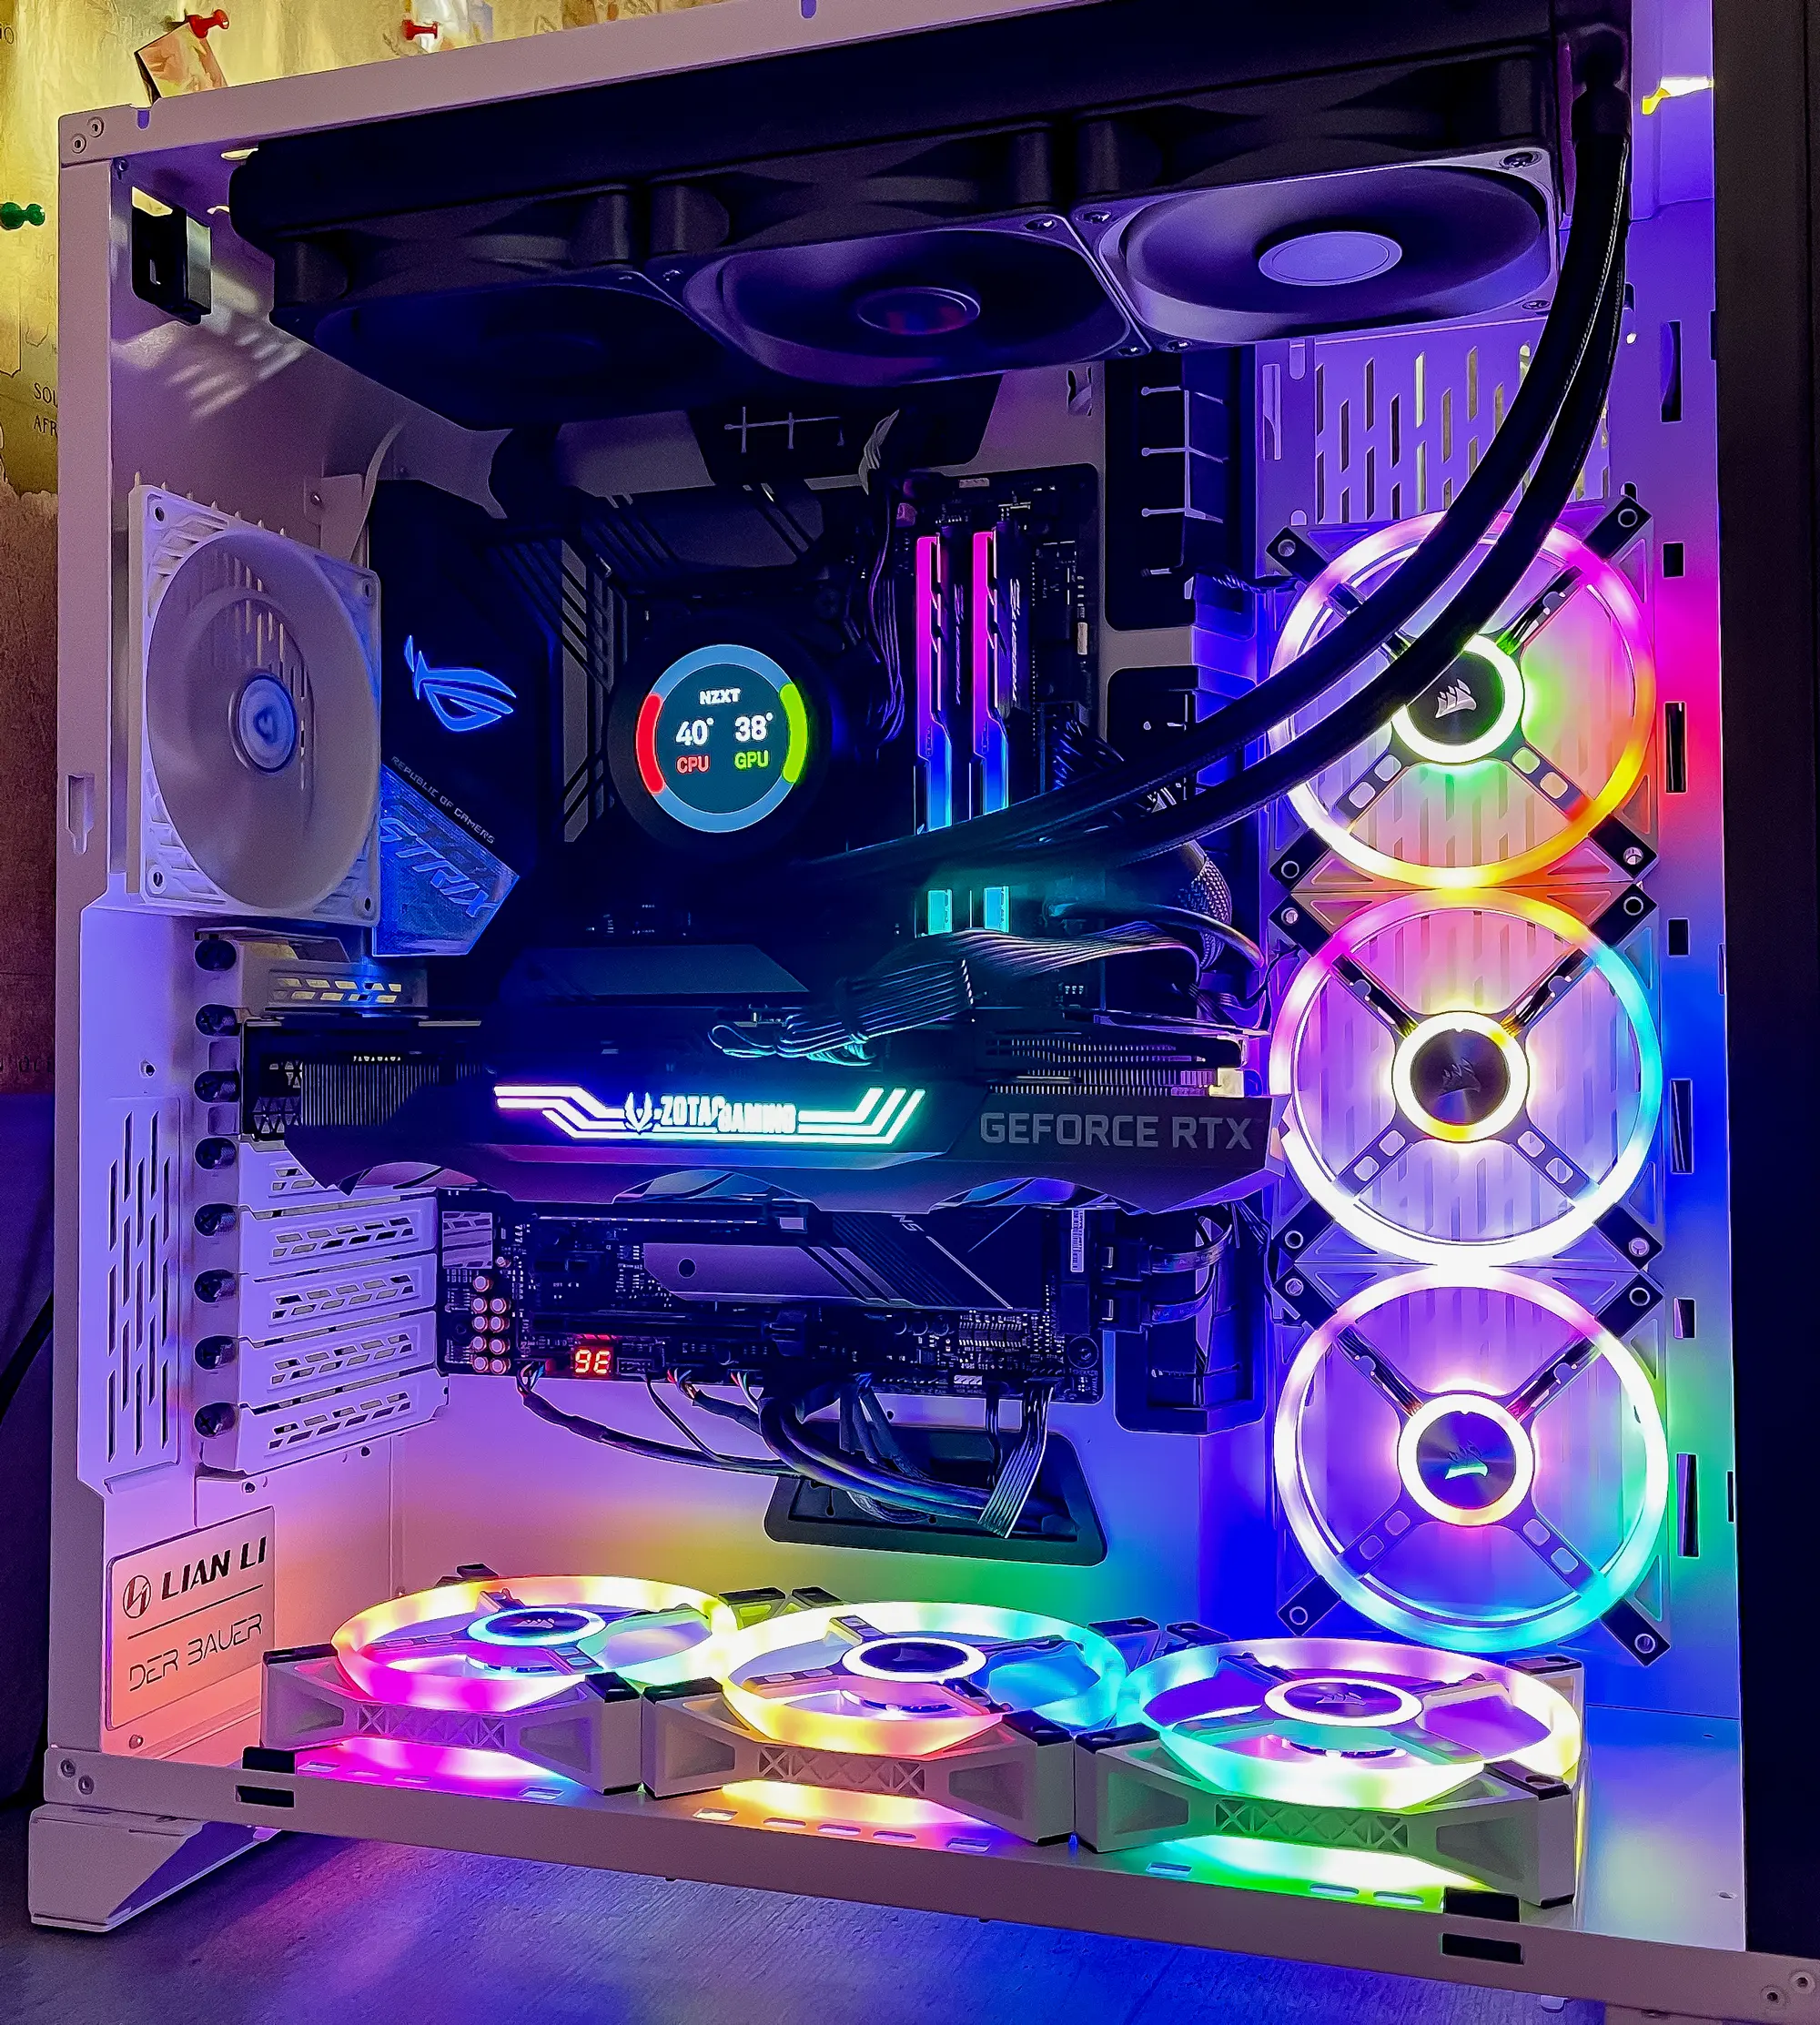
If your AIO is already older and has accumulated air, it’s advisable to install it on top of the PC case. Why? The air bubble in the cooling system always seeks the highest point. When the radiator is installed at the very top, this allows for a uniform flow of water and air through the radiator, as long as there is sufficient water in the system.
Additionally – at least in my PC case – the water hoses are sufficiently far away from the graphics card, preventing the hoses from overheating significantly. The three fans at the rear of the case bring cold air inside while simultaneously cooling the water hoses.
The conversion of the water cooling from rear or front to top was a complete success for me, as my NZXT 360 AIO had already accumulated air in the system for about 2 years.
Here are the positive results I observed:
- The water pump became quieter.
- The temperature is now stable and no longer fluctuates.
- The CPU temperature could be cooled by about 15 degrees Celsius.
- In the benchmark test, the CPU now reaches a temperature of about 65 degrees Celsius, compared to the previously achieved 80 degrees Celsius.
Due to the cooler operation of the CPU, it throttles down later in the benchmark test. This results in a higher clock frequency and thus more performance and points in the benchmark test.
Thanks to the repositioning of the AIO to the top, I was able to benefit from several advantages and achieve better performance.
Conclusion: Install AIO water cooling on top, bottom, or front?
When the AIO is new, it’s essentially irrelevant where it’s placed. However, it’s important to ensure it receives fresh air from outside, as this ensures the best cooling performance.
If the AIO is older and already has air in the cooling system, it should be placed at the top of the case. Initially, I had concerns because it uses warm air from the case for cooling, but that’s not an issue for the NZXT AIO!
When I had the AIO installed at the rear, warm air was additionally entering the case.
- At the bottom, there were 3 fans bringing in cold air.
- The AIO at the rear had 3 fans expelling warm air.
- One fan at the rear was extracting warm air.
- 3 fans were exhausting warm air upwards.
In this setup, at the bottom, there were only 3 fans continuously delivering cold air into the case. Meanwhile, 4 fans (rear/top) had to dissipate heat from the AIO and the graphics card. However, this setup didn’t work properly. During gaming, the CPU reached about 74 degrees Celsius, and the graphics card reached about 77 degrees Celsius. The heat sinks of the voltage regulators on the motherboard and the memory were so hot that they couldn’t be touched.
By relocating the AIO to the top, since it already had air in the system, the 3 fans at the rear can now bring in cold air into the case in addition to the 3 fans at the bottom. This results in a total of 6 fans bringing cold air into the case, while 4 fans expel warm air outside.
Due to the airflow between a rear fan and the other 3 fans (on the side), there is a constant airflow over the voltage regulators and memory. Even after 30 minutes of gameplay, both are easily touchable and only warm. It’s incomparable to before. The graphics card is unaffected by the modification and still gets just as warm as before. But the rest of the system is perfectly cooled.
What really surprised me is that the radiator at the top doesn’t get as hot as before. Despite the heat it receives from the 74-degree-hot graphics card during gaming, it’s only warm and still provides perfect CPU cooling.
If you’re experiencing issues with CPU temperature and overall heat in the case, you should try my airflow setup and share your results in the comments! For me, everything works perfectly with this configuration!
My PC system
Feel free to check out my PC components on Amazon:
- AMD Ryzen 9 3900XT*
- ASUS ROG Strix X570-E Gaming*
- Lian Li O11Dynamic XL (ROG Certified)*
- Zotac RTX 3090 Trinity OC*
- NZXT Kraken Z73*
- G.Skill F4-3600C16D-32GTZNC*
- Corsair iCUE QL120 RGB*
- Corsair Commander PRO*
- Corsair LED Lüfter- Hub*
- Corsair RM750 Netzteil*
- Samsung 970 EVO Plus 500 GB*
If you decide to make a purchase, I’ll receive a small commission!
If you're currently in search of new hardware, feel free to use my price comparison and support my project!
What should be considered with an AiO water cooling system?
When using an AiO water cooling system, there are several important points to consider:
Compatibility: Ensure that the AiO water cooling system is compatible with your PC case, processor socket, and graphics card (if you also wish to cool it). Check the manufacturer’s specifications to ensure proper fitment.
Installation: Follow the manufacturer’s instructions carefully to correctly install the AiO water cooling system. Pay attention to proper mounting of the radiator, pump, and cooling blocks on the CPU and graphics card. Ensure that thermal paste is applied correctly to ensure good heat transfer.
Positioning: The placement of the AiO water cooling system inside the case is crucial. Consider the aforementioned recommendations for placement, depending on the air in the system and desired cooling performance for the CPU and graphics card. Ensure that the radiator and fans have adequate space to exhaust warm air.
Fan Configuration: Proper arrangement and configuration of fans are crucial for efficient cooling. Ensure that fans are mounted in the correct direction to optimize airflow. Typically, front or bottom fans intake cold air into the case, while rear or top fans exhaust warm air.
Maintenance: Regularly check the condition of the AiO water cooling system, especially the water level and any signs of leaks. Ensure that there is no air in the cooling system, as this can affect cooling performance. Also, clean the radiator and fans regularly from dust to maintain good airflow.
Monitoring: Use appropriate software or tools to monitor CPU and graphics card temperatures. Watch out for unusual temperature increases or noises that could indicate a problem with the water cooling system.
Warranty: Familiarize yourself with the warranty terms of the AiO water cooling system and adhere to the recommended maintenance and installation steps to avoid voiding the warranty.
It’s important to follow the specific instructions and recommendations of the manufacturer to ensure that the AiO water cooling system operates properly and reliably cools the components.
When should an AIO be serviced?
An AiO liquid cooling system should be regularly serviced to ensure optimal performance and longevity. The exact timing may vary depending on the manufacturer and model, so it’s important to follow the specific recommendations of the manufacturer. Generally, the following guidelines can be followed:
- Inspection every 6 to 12 months: Inspect the AiO liquid cooling system for signs of leaks, damaged hoses, or potential buildup of dust and debris on the radiator or fans. Ensure all connections are tight and there are no leaks.
- Cleaning: Regularly remove dust and dirt from the surface of the radiator and fans. Use compressed air or a soft brush to remove dust buildup. Be careful not to damage the fan blades.
- Fluid Level: Check the fluid level in the AiO liquid cooling system. If possible, this should be done as part of regular inspection. Ensure the fluid level is adequate and there are no air bubbles in the system. If necessary, fluid can be replenished, but caution is required as this is a precise and careful task.
- Thermal Paste Replacement: After a certain period, it may be necessary to replace the thermal paste between the CPU and the cooling block. This is especially true if CPU temperatures rise or poorer cooling performance is observed. Follow the manufacturer’s instructions for replacing thermal paste.
It’s important to note that these guidelines are general and specific requirements may vary depending on the manufacturer and model. Therefore, always consult the documentation and instructions provided by the manufacturer for the specific maintenance intervals and procedures for your AiO liquid cooling system.
What is an AIO water cooler filled with?

An all-in-one liquid cooler typically comes pre-filled with a coolant provided by the factory, which usually consists of a mixture of distilled water and special additives such as corrosion inhibitors and biocides. This coolant is often referred to as “coolant” or simply “Coolant.”
It is important to use the coolant recommended by the manufacturer to ensure optimal performance and compatibility with the all-in-one liquid cooler. The use of other fluids, such as pure distilled water or alternative coolants, can lead to issues such as corrosion, clogging, or bacteria growth, and may void the warranty of the liquid cooler.
If refilling the coolant becomes necessary, it should be done carefully and following the manufacturer’s instructions. Some all-in-one liquid coolers may offer the option to refill the coolant, while others are designed as closed systems where refilling is typically not intended.
It is recommended to exercise extreme caution when performing any work on the all-in-one liquid cooler and to follow the manufacturer’s specific instructions to avoid potential damage or leaks.